
Understanding Your Playstyle in Tarkov
How do you typically approach combat in Escape From Tarkov? Your playstyle defines your success, whether you favor aggressive strategies or stealth tactics.
 If you lean towards solo playstyles, understanding your weapon preferences becomes crucial; you’ll need to assess risk effectively while determining optimal engagement distances. Teamwork dynamics can shift the tide if you play with others, necessitating clear communication and synchronized tactics.
Resource management plays a vital role in your survival, impacting everything from ammunition to healing supplies. You'll want to consider recovery methods after engagements, allowing you to regroup and strategize for your next move. Don’t underestimate the importance of tactical retreats; knowing when to pull back can save your life. Ultimately, honing your understanding of these elements will enable you to craft tactical loadouts tailored to your unique playstyle, enhancing your overall experience in Tarkov.
Assessing Map Knowledge and Raid Goals
Knowing the layout of each map is crucial for planning your raid effectively. By understanding key locations and potential enemy hotspots, you can define your objectives more clearly and strategize your approach. This knowledge not only enhances your survival odds but also maximizes your loot potential.
Understanding Map Layouts
While navigating the treacherous landscapes of Escape From Tarkov, having a solid grasp of map layouts can significantly enhance your chances of survival and success. Understanding key map features, such as extraction points, loot locations, and ambush spots, is crucial. Each map presents unique challenges and opportunities, making it essential to familiarize yourself with the terrain. Effective tactical positioning allows you to utilize cover and elevation while remaining aware of potential threats. As you explore, take note of choke points and high-traffic areas; this knowledge can inform your movement and decision-making during raids. By mastering the maps, you'll improve your situational awareness and increase your odds of returning home with valuable loot.
Defining Raid Objectives
Before you even set foot in a raid, defining your objectives can significantly shape your tactics and overall success in Escape From Tarkov. Understanding your mission types helps you prioritize what needs to be accomplished, allowing for a more focused approach.
Consider these raid objectives:
- Looting high-value items in key locations
- Completing quests for traders and factions
- Extracting safely with your gear intact
- Eliminating specific targets to fulfill contracts
- Gathering Intel on enemy movements
With clear goals, you can strategize your loadout and navigate each map effectively. Always adapt your tactics based on your objectives, ensuring you maximize your chances of survival and success in this relentless environment.
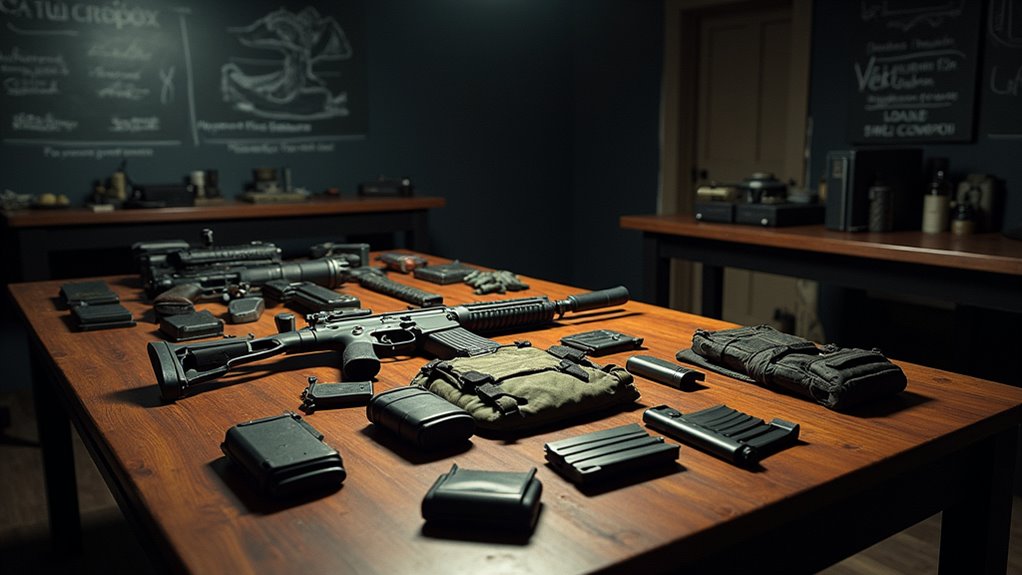
Choosing the Right Weapons
How do you determine the right weapons for your tactical loadout in Escape From Tarkov? It’s essential to consider weapon compatibility and tactical versatility. Think about the scenarios you’ll face, whether it’s close-quarters combat or long-range engagements. Balancing these factors can make or break your success.
Here's a table to help you analyze different weapon options:
Weapon Type Advantages Best Use Case
| Assault Rifles | High versatility, good range | Mid to long-range |
| Submachine Guns | Fast fire rate, mobility | Close-quarters combat |
| Sniper Rifles | High damage, precision | Long-range engagements |
| Shotguns | Devastating at close range | Indoor encounters |
| DMRs | Good balance of range and power | Versatile engagements |
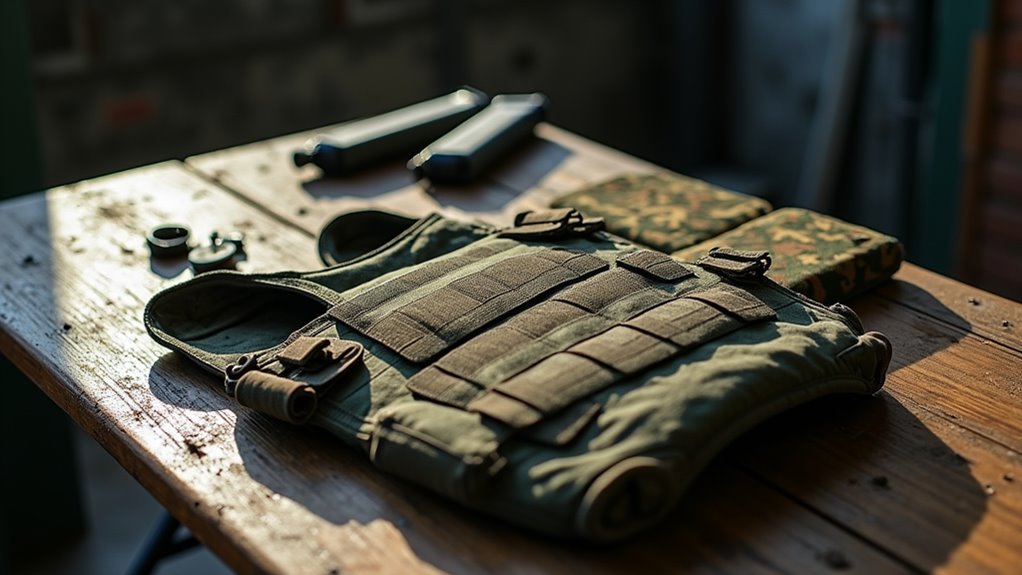
Selecting Armor and Headgear
When it comes to survival in Escape From Tarkov, selecting the right armor and headgear can make a significant difference in your engagement outcomes. Understanding the various armor types and their protection levels is crucial; not all gear offers the same defense against different threats. You'll want to balance mobility and protection to create a loadout that suits your playstyle and the challenges ahead.
Armor Types Overview
In the high-stakes world of Escape From Tarkov, choosing the right armor and headgear can mean the difference between life and death. Understanding armor mechanics is crucial. You'll want to consider armor tiers, which dictate effectiveness against various ammunition types. Higher-tier armors usually boast better durability, but they come with increased weight, impacting your mobility.
- The sleek, lightweight armor for agility
- Heavily armored suits for maximum protection
- Crafting materials for custom loadouts
- Repair kits to maintain armor durability
- Compatibility with different gear setups
Balancing armor weight with protection needs is vital. Don’t forget to think about armor repair; maintaining your gear can enhance its longevity and ensure you’re always ready for the next encounter.
Headgear Protection Levels
Headgear plays a crucial role in your overall survivability in Escape From Tarkov, as it directly impacts your protection against headshots and various environmental factors. Understanding the different headgear types and their protection ratings is essential for crafting effective loadouts. Each headgear type offers varying levels of protection, from helmets designed for ballistic defense to more lightweight options prioritizing mobility. When selecting headgear, consider the protection ratings against specific ammunition types you might encounter. Higher-rated helmets often come with trade-offs, like increased weight and reduced peripheral vision. Balancing protection with mobility is key to staying agile while minimizing risks. Ultimately, the right headgear can be the difference between life and death in the unforgiving environments of Tarkov.
Balancing Ammo Types and Quantity
While choosing the right ammo types and quantities may seem straightforward, it plays a crucial role in your overall effectiveness in Escape From Tarkov. Effective ammo selection strategies can mean the difference between victory and defeat. You’ll want to balance firepower and versatility to optimize your tactical loadout. Consider the following factors when selecting your ammo:
- Penetration power for armored foes
- Damage output to eliminate threats quickly
- Type of engagement, whether long-range or close-quarters
- Availability of specific ammo types in your stash
- Weight and bulk, ensuring you don’t overburden yourself
Essential Gear: Meds, Tools, and More
Effective ammo selection is just one part of a comprehensive tactical loadout. To truly enhance your survivability in Escape From Tarkov, you need to focus on essential gear like med kits and tactical tools. Med kits are crucial for recovering health during intense firefights, so always carry a variety that addresses both minor wounds and severe injuries. Consider including items like Salewa or Grizzly med kits, which can be lifesavers when you're in a pinch.
In addition to healing supplies, tactical tools such as flashlights, multi-tools, and grenades can significantly improve your situational awareness and combat effectiveness. A good flashlight not only helps you navigate dark areas but can also disorient enemies. Meanwhile, multi-tools can assist in quick repairs or crafting. By thoughtfully integrating med kits and tactical tools into your loadout, you’ll be better prepared for the unpredictable challenges that Tarkov throws your way.
Loadout Variations for Different Scenarios
When you’re gearing up for a raid in Escape From Tarkov, it’s crucial to tailor your loadout to the specific scenario you expect to face. Loadout synergy is key; you want your gear to complement each other, enhancing your tactical flexibility. For instance, if you anticipate close-quarters combat, consider a setup that maximizes mobility and quick engagements.
- Lightweight armor for speed
- A compact submachine gun for rapid fire
- Flashbangs to disorient enemies
- A medkit for quick healing
- Silent footwear for stealthy movement
Conversely, if you're heading into a long-range skirmish, prioritize heavier armor and precision weaponry. Adapting your loadout based on the situation not only increases your survivability but also improves your overall performance in raids. Always think strategically about how each component of your loadout works together to meet the unique challenges each scenario presents.
Managing Inventory and Weight
In Escape From Tarkov, understanding item weight is crucial for optimizing your survival chances. By efficiently organizing your inventory, you can ensure that you carry only what's necessary, balancing mobility with firepower. This strategic approach not only enhances your performance in raids but also minimizes the risk of becoming an easy target.
Understanding Item Weight
Although you might be eager to load up on gear before heading into a raid, understanding item weight is crucial for managing your inventory effectively. Item encumbrance affects your mobility, stamina, and overall performance during firefights. Prioritizing weight management can mean the difference between survival and defeat.
Consider the following items when evaluating your loadout:
- Body armor (heavy but protective)
- Rifle (essential for combat)
- Medical supplies (lightweight yet vital)
- Backpack (adds bulk but increases capacity)
- Grenades (compact but can sway the tide)
Balancing these items against their weight will enhance your effectiveness in raids, ensuring you’re ready for any situation that arises.
Efficient Inventory Organization
To maximize your efficiency during raids, organizing your inventory is just as critical as selecting the right gear. Employing effective inventory management techniques can significantly enhance your gameplay. Start by categorizing items—grouping weapons, medical supplies, and ammunition together allows for quick access during tense moments. Utilize efficient storage solutions, such as stacking items that share similar sizes or types, to optimize space. Be mindful of weight; prioritize items you'll need most, leaving behind unnecessary gear. Regularly reviewing your inventory ensures you adapt to changing needs, whether you're planning for a raid or scavenging. By refining your organization strategy, you'll not only lighten your load but also improve your chances of survival in the unforgiving world of Escape From Tarkov.
Testing and Adjusting Your Loadouts
Testing and adjusting your loadouts is crucial for maximizing your effectiveness in Escape From Tarkov. To ensure you're always prepared for the unpredictable nature of raids, employ effective loadout testing and adjustment strategies.
- Weapon combinations that suit your play style
- Armor and helmets that provide optimal protection
- Medical supplies for rapid healing during firefights
- Grenades for tactical advantages in tight situations
- Backpacks that balance weight and storage capacity
Conducting thorough tests in different scenarios will highlight strengths and weaknesses in your loadouts. Keep track of how well your gear performs and make necessary adjustments based on your experiences. Don’t hesitate to tweak your setup as you gather intel on enemy tactics and map dynamics. Remember, flexibility in your loadout can be the difference between life and death in this unforgiving environment.
Learning From Each Raid Experience
As you dive into each raid in Escape From Tarkov, the lessons learned can significantly shape your future strategies. Conducting a thorough raid analysis after each encounter is crucial. Take the time to reflect on your performance and gather experience feedback, noting what worked and what didn’t. Did your loadout suit the environment? Were your tactical adjustments effective against opponents?
These reflections help you identify your learning curves, allowing you to adapt and improve with each raid. If you consistently find yourself caught off-guard, consider changing your approach or gear. Conversely, if certain tactics yield success, delve deeper into those strategies.
Frequently Asked Questions
How Do I Efficiently Organize My Stash for Better Loadout Management?
To efficiently organize your stash, categorize items by type and purpose. Use labeled containers for gear, ammo, and medical supplies. This structured approach boosts loadout efficiency, allowing quick access and better preparation for your next mission.
What Are the Best Maps for Testing New Loadouts?
For testing new loadouts, Factory skirmishes offer close-quarters combat, while Woods ambushes provide a chance to evaluate long-range effectiveness. Both maps help you understand your gear's strengths and weaknesses in diverse scenarios.
How Can I Find Rare Gear to Enhance My Loadouts?
To find rare gear, explore high-value loot locations like Interchange and Customs. Scavenge thoroughly, check containers, and be aware of spawn points. Engaging with other players can also lead to valuable discoveries and trades.
What Crafting Recipes Are Essential for Tactical Loadouts?
To optimize your tactical loadouts, focus on crafting recipes for essential tactical gear like armor, backpacks, and weapon mods. Gather valuable crafting materials, ensuring you have a well-rounded setup for any situation you encounter.
How Do Weather and Time of Day Affect Loadout Choices?
Weather impacts your loadout by dictating visibility and mobility; rain might require waterproof gear, while fog limits range. Time influences tactical decisions too, as night operations demand night vision, altering your equipment choices significantly.